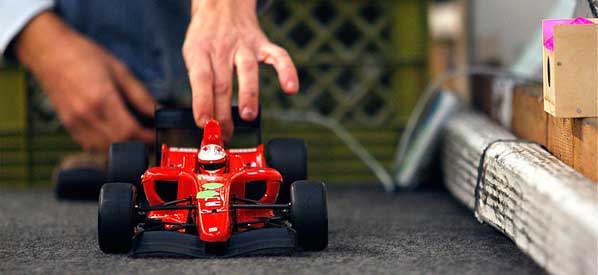
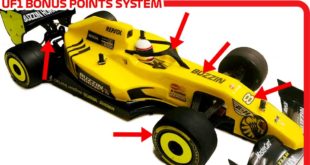
The UF1 utilizes a unique Pit Stop system to further emulate real F1. This system not only looks cool, it also helps drivers use pit strategy to get out of traffic. Tim Ruwe, one of the founding members of the UF1, has come up with a stellar Pit Timer Box that helps both the drivers and the Pit Boss during the pit stops. He’s written a How-To so other UF1 affiliates can make their own Pit Timer Box for their series.
To make a timer is not particularly difficult for someone with fair computer skills who is not intimidated by a simple schematic and a soldering iron.
Bill of Materials (BOM)
1. Arduino $30
2. Foot switch $7
3. Piezo buzzer $7
4. LED array $10
5. 10’ of speaker wire $3
6. 5v relay $10
7. 7.4v battery $free
8. Box to put it in $5
Almost all of the components I have were scrounged from things being tossed at my work. All the prices listed are guestimates of retail price.
Here is a breakdown of the parts in the BOM.
1. Arduino:
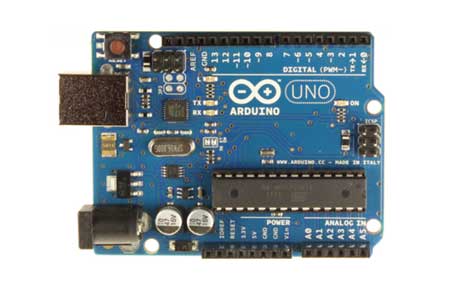
“An open-source electronics prototyping platform based on flexible, easy-to-use hardware and software”.
Arduinos come in about 100 different formats. The most basic “all in one” is the Arduino Uno. Available for around $30 on eBay, they’re slightly more at Radio Shack. To make it work for our application, it has to be programmed by plugging it into a PC running the development environment application and loading the code I have written for the application.
If you feel totally lost by this first step, don’t give up. For the un-initiated the concept can be intimidating, but it isn’t really that hard and kind of a cool thing to accomplish. If this part of the project still seems too much, I can program one for you. Contact me at truwe@uf1rc.com
Optionally: the Arduino Pro-Mini is smaller, but requires a FTDI interface to initially program the device. The two parts together will run you $35.
http://www.jayconsystems.com/arduino-pro-mini-328-5v-16mhz.html
http://www.jayconsystems.com/5v-ftdi-basic-usb-to-serial-converter.html
2. Momentary SPST Switch to start the timer
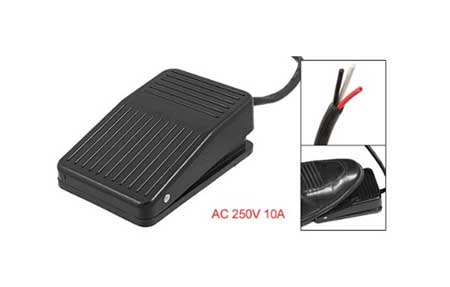
This switch cost $7 on Amazon. This can be a push button switch to mount on the pit box, or a foot switch attached by a length of two conductor wire such as speaker cable
3. Piezoelectric Buzzer
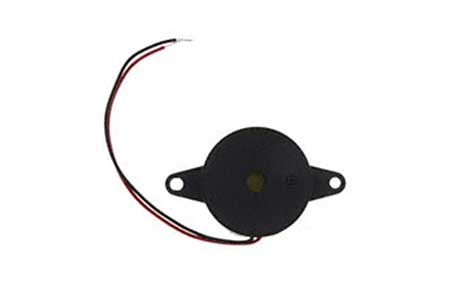
This needs to be loud if you want to hear it over the announcer in an indoor track. 80-90DB should do the trick.
4. LED Array
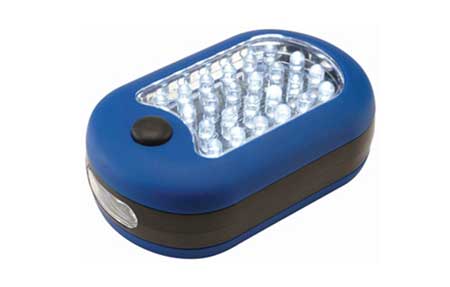
As many races are held outdoors, a single LED may not be visible in bright sunlight. Here is an array in a flashlight from Harbor Freight that could be modified for our purpose.
The Arduino does not supply enough current to turn the array on. In my diagram, I use the output of the Arduino to actuate a relay that supplies current directly to the LED array. This array is VERY bright and you will need some type of diffusor to keep from going snow blind when you look at it such as a red tail light lens from a ’74 Impala.
5. Speaker Wire
It is helpful to have the pit box a decent distance from the switch so the pit boss can watch for cars entering the pits while looking at the light out of the corner of his eyes. 10’ should be good enough to do the job.
6. Relay to turn on the LED array
I used a relay from a dial up modem, but those are kind of rare these days unless you have “hoarding issues”. Alternatively, solid state relays are a good option.
Omron G3M-203P 5 VDC
http://www.sainsmart.com/arduino-pro-mini.html
7. 7.4v Battery
An old LiPo that has seen better days in an RC car works great and would run the Arduino for days between charges.
A few options:
• On/off switch. I opted to plug the battery direct to prevent accidental resets.
• An LED to indicate that the Arduino is powered up.
• Some of the racers asked for a louder tone to know when a car was in the pits. Being that we never know exactly how far away the pit is from the drivers stand or how much background noise we have to deal with, making it simply louder was impractical. However, I found a Tx/Rx radio set for around $20 that fit the bill quite nicely. It was a simple upgrade. The Tx is wired into the LED light so that it transmits whenever the pit is occupied. The Rx energizes the piezo buzzer as long as the pit light is on. With the Rx/piezo in a box behind the drivers they can always listen for when a car is in the pit.
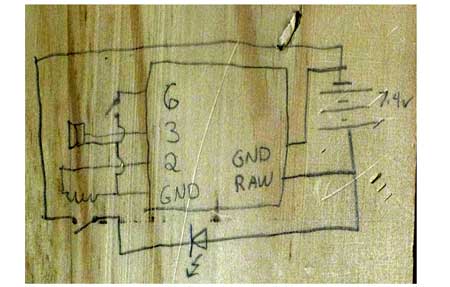
Wiring Diagram
Someday I may make a nice diagram, but until then, you have to live with the crude drawing I put on the inside of my box for reference pending motivation to make it nice!
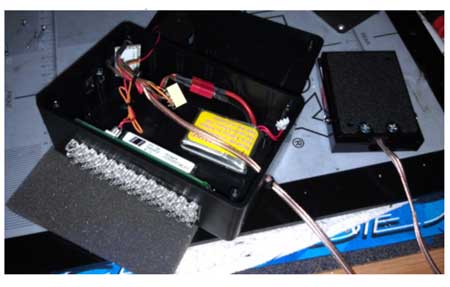
What it could look like when you are finished
How it works:
1. Plug in the battery and wait a few seconds for it to “boot up”.
2. To program the timer, depress the foot switch and hold for however long you want the pit stop to last. Typically it is set to just under the time it takes for a fast lap. (As designed, the maximum time it can be set to is around 30 seconds).
3. Once the timer is set, every time the switch is momentarily depressed the box will beep once and the light will go on for the programmed period of time. When the time is up, the light goes off and the box will beep twice.
To reset the timer simply unplug the battery and reprogram.
Arduino Code
To program an Arduino, you need to download the IDE on a PC. I will not go into detail here as the internet is full of instructions on the Arduino. Once you get everything setup, download the Arduino Program Code (below) and cut and paste the code below into the IDE and program.
Download: UF1 Pit Timer Box – Arduino Program Code
Pit Timer Box article and code by Tim Ruwe.


2 comments
Pingback: Topeka Onroad Racing - Page 560 - R/C Tech Forums
Pingback: Nebraska UF1 Series!! - Page 19 - R/C Tech Forums